
Upgrading your home doesn’t have to drain your savings. Many effective improvements can be made with a limited budget and basic tools. Simple upgrades like painting walls, updating fixtures, or adding storage can significantly improve your space without major expenses.
Focusing on DIY projects allows you to control costs while tailoring changes to your style and needs. These upgrades often increase both comfort and value, making your home more enjoyable and practical.
This post will guide you through budget-friendly ideas that deliver real results. Each project is designed to be manageable and affordable, helping you make the most of your home without overspending.
Planning Your Budget-Friendly DIY Home Upgrades
Start by clearly identifying what parts of your home need improvement and how much you can realistically spend. Focus on projects that will make the most noticeable difference without overspending. Organizing your tasks according to priority helps manage time and resources efficiently.
Assessing Your Home Improvement Needs
Begin by walking through your home, room by room. Look for visible issues like peeling paint, outdated fixtures, or worn flooring. Consider both cosmetic updates and necessary repairs.
Make a list of all potential projects. Include everything from minor fixes to larger upgrades, but be honest about what truly requires attention now. This prevents wasting time on unnecessary tasks.
Ask household members for input. Sometimes small annoyances become shared priorities. This helps create a balanced list reflective of actual needs.
Setting a Realistic Budget
Determine how much money you can allocate for these upgrades without affecting your essential expenses. Break your total budget down per project or per room.
Include costs for materials, tools you might need to buy, and any unexpected expenses. Adding a contingency of 10-15% is practical.
Track expenses as you proceed to avoid overspending. Use simple spreadsheets or budgeting apps to stay organized and update costs in real time.
Prioritizing Projects for Maximum Impact
Focus first on improvements that increase comfort and safety, such as fixing leaks or upgrading lighting. Next, consider projects that improve aesthetics but have low costs, like painting or new hardware.
Use this simple priority list:
| Priority Level | Project Type | Reason |
| High | Repairs and safety updates | Prevent damage, enhance safety |
| Medium | Cosmetic, low-cost projects | Refresh look affordably |
| Low | Major renovations or costly work | Postpone to stay within budget |
This method ensures your money goes toward the most beneficial changes first.
Simple Paint and Surface Updates
Updating paint and surfaces can quickly transform a space without breaking the bank. Careful color selection, prepping walls, and refreshing cabinets are key to achieving a polished look.
Choosing Cost-Effective Paint Colors
Selecting paint colors that save money starts with understanding paint types and finishes. Matte and eggshell finishes are usually less expensive than high-gloss options and can hide imperfections better.
Neutral tones like beige, gray, and soft whites tend to sell well in resale and are widely available at budget prices. Buying paint in larger quantities or during sales can reduce overall costs. Sampling before committing helps avoid extra expenses from repainting.
Consider using paint with primer included to skip an extra coat. Store brands often offer quality similar to well-known brands and should be explored when cost is a concern.
Refreshing Walls and Ceilings
Proper preparation is crucial for a smooth and lasting paint job. Clean walls thoroughly to remove dirt and grease. Fill holes or cracks with spackle to ensure an even surface.
Use painter’s tape to protect trim and ceilings, ensuring clean lines. Rolling paint on walls with a high-quality roller shortens application time while providing consistent coverage.
For ceilings, choose bright white paint to open up the room and reflect light. Flat finish paint is standard for ceilings as it minimizes glare and hides imperfections. Multiple thin coats are preferable to one thick coat.
Revamping Cabinets and Doors
Painting cabinets and doors gives them a fresh, modern look at a fraction of replacement costs. Begin by cleaning surfaces to remove grease and grime. Sand lightly to promote paint adhesion.
Use a primer formulated for wood or laminate if necessary. Semi-gloss or satin finishes work well here as they resist moisture and are easier to clean.
Consider updating hardware like knobs and handles after painting for a cohesive upgrade. Painting details such as panels on doors can add depth without much added cost.
Taking time on prep and finish significantly improves the durability and appearance of painted cabinetry and doors.
Affordable Lighting Improvements
Lighting can transform a room’s feel and functionality while reducing energy costs. Choosing the right fixtures and making creative lighting pieces can elevate your space without a high price tag.
Installing Energy-Efficient Light Fixtures
Switching to energy-efficient bulbs like LED or CFL cuts electricity use by up to 75%. These bulbs last longer, reducing replacement frequency and saving money over time.
Look for fixtures labeled ENERGY STAR certified. They guarantee lower power consumption and quality performance. Recessed LED downlights and compact LED panels are popular for kitchens and living rooms.
Installation is straightforward: turn off power, remove old fixtures, and wire in new ones following instructions. Many energy-efficient fixtures fit into standard sockets or mounts, minimizing the need for rewiring.
DIY Statement Lighting Projects
Creating your own lighting can add a unique style without buying expensive pieces. For example, transforming mason jars or wine bottles into pendant lights offers charm on a budget.
Materials needed include basic wiring kits, LED bulbs, and mounting hardware. Sand and spray paint can customize the look. Use a drill for clean holes and ensure all electrical connections are secure and insulated.
Another option is crafting a lampshade from fabric or paper. This allows for color and pattern customization, matching your decor. Always double-check stability and safety before use.
Quick tips for DIY lighting:
| Task | Key Point |
| Wiring | Use insulated connectors and follow guides |
| Mounting | Secure fixtures to avoid falls |
| Bulb selection | Prefer LED for efficiency and low heat |
Low-Cost Flooring Solutions
Affordable flooring upgrades can dramatically transform a room’s appearance without high costs or expert skills. Options range from instant peel-and-stick tiles to creative rug layering and simple grout improvements.
Peel-and-Stick Flooring Options
Peel-and-stick flooring is a popular budget choice because it requires no special tools or adhesives. These vinyl tiles or planks come with a sticky backing that adheres directly to clean, smooth surfaces like concrete or plywood.
They are available in patterns mimicking wood, stone, and tile, providing style variety at low prices. Installation takes minimal time, often a few hours for an average room.
Key advantages include easy replacement of damaged tiles and no need for professional installation. However, they are best suited for low-traffic areas or rooms without high moisture to prevent peeling.
Rug Layering Techniques
Layering rugs adds warmth and style while covering worn floors at minimal cost. Start with a large neutral base rug, then add smaller patterned or textured rugs on top for visual depth.
Using rug pads underneath prevents slipping and extends rug life. Mixing materials like jute, wool, or synthetic fibers combines durability with aesthetic appeal.
This technique allows seasonal swaps with different rugs to refresh the look year-round. It also prevents cold floors without the expense of full flooring replacement.
Updating Floor Grout and Finishes
Refreshing grout lines can brighten tile floors and extend their life without replacing tiles. Clean grout with a mixture of baking soda and vinegar or commercial grout cleaners to remove stains and mildew.
Applying grout sealant after cleaning protects against moisture and dirt buildup. For old or cracked grout, removing and reapplying new grout improves appearance and durability.
For other flooring types, consider refinishing products like floor wax or sealers, which restore shine and protect surfaces. These are affordable, DIY-friendly options that maintain floors longer.
DIY Storage and Organization Ideas
Maximizing space and improving organization can be affordable with practical design and repurposing. Simple installations and strategic rearrangements make a significant difference in storage capacity and accessibility.
Open Shelving Installation
Open shelving is a cost-effective way to add storage in kitchens, living rooms, or bathrooms. Choose affordable materials such as plywood or reclaimed wood, which can be cut to size and painted for a custom look.
Secure shelves directly into wall studs for strength and stability. Use brackets or floating shelf hardware, depending on your preferred style. Keep frequently used items visible and within reach for convenience.
Installing open shelves near workspaces can reduce clutter by providing easy access to tools or kitchen essentials. Use containers or baskets on the shelves to keep smaller items organized and neat.
Repurposing Existing Furniture
Giving old furniture a new function saves money and adds unique character. Dressers can become bathroom vanities by removing drawers and fitting a sink. Bookshelves transform into pantry storage with added baskets and hooks.
Consider refinishing pieces with paint or new hardware to match your home. Adding caster wheels to large items improves mobility and versatility.
Repurposed furniture often requires minor modifications but avoids the cost of new units. Think creatively about how each item can fit into a new role to maximize space efficiently.
Closet Makeover Strategies
Closet organization can be enhanced by installing adjustable shelving and hanging rods. Modular systems bought online offer flexibility and are easy to install with basic tools.
Add clear bins and labeled boxes on upper shelves to categorize seasonal clothing and accessories. Use slim, non-slip hangers to save horizontal space and reduce fabric damage.
Incorporate hooks or small racks on the inside of closet doors to store belts, scarves, or jewelry. These upgrades optimize every inch of space without professional help or expensive materials.
Curb Appeal on a Budget
Small changes can make a noticeable difference outside the home without a large investment. Focusing on specific areas like doors, landscaping, and lighting can enhance the front yard’s appearance efficiently.
Painting the Front Door
A fresh coat of paint on the front door instantly renews the home’s entrance. Choose a durable, outdoor-grade paint designed for wood or metal surfaces, depending on your door material.
Before painting, clean the surface thoroughly and sand any rough spots for better adhesion. Use painter’s tape to protect hinges and glass. Bold colors like navy blue, deep red, or charcoal gray can create a modern and welcoming look.
Two coats usually provide the best finish, allowing adequate drying time between layers. This upgrade typically costs under $50 in supplies but can drastically improve curb appeal.
Easy Landscaping Enhancements
Adding small plants or mulch can bring order and color to the yard quickly. Planting shrubs or flowers native to your region reduces maintenance and water use.
Define walkways or garden beds with inexpensive edging materials like plastic, metal, or bricks. Mulch around plants helps retain moisture and gives a clean appearance.
Consider planting perennials because they return annually and save money over time. Regular weeding and trimming keep the area neat and inviting.
Upgrading Outdoor Lighting
Outdoor lighting improves visibility and highlights architectural features or landscaping. Solar-powered lights offer a cost-effective, easy-to-install option with no wiring required.
Position lights along pathways, near entryways, or to accentuate trees and shrubs. LED bulbs provide long life and low energy consumption.
Check fixtures for weather resistance and choose styles matching your home’s exterior. Using timers or motion sensors can enhance security and convenience.
Inexpensive Kitchen Updates
Small changes can significantly improve kitchen aesthetics without a large budget. Focusing on key areas like cabinetry feel, wall accents, and countertops can refresh the entire space. Practical choices in materials and tools reduce costs while boosting visual appeal.
Hardware Replacement Tips
Switching out cabinet knobs and drawer pulls is one of the simplest upgrades. Look for hardware made of stainless steel, brushed nickel, or matte black for a modern look. These materials balance durability and style at affordable prices.
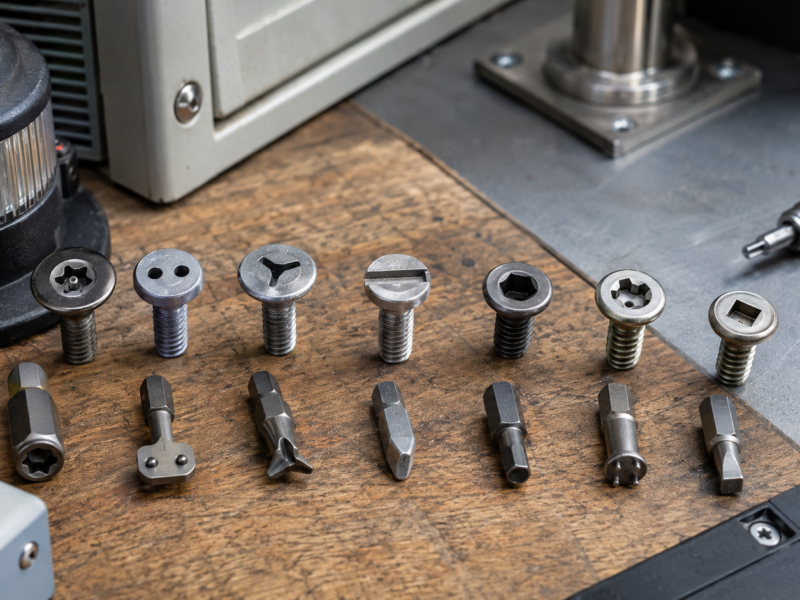
Measure existing hardware before shopping to ensure new pieces fit without extra drilling. Consider soft-close hinges if budget allows, as they improve function and feel. Installing hardware yourself saves money and requires only basic tools like a screwdriver and drill.
Backsplash Alternatives
Traditional tile backsplashes can be expensive and time-consuming. Instead, explore peel-and-stick backsplash panels or vinyl decals that mimic stone or subway tiles. These options are water-resistant and easy to clean.
Another choice is painting a backsplash area with washable, moisture-resistant paint. This method is cost-effective and allows for custom colors. For a bit more effort, adhesive beadboard panels can add texture and character for a low price.
Countertop Makeover Ideas
Refinishing countertops can update the kitchen without replacing them. Consider using countertop paint kits designed for laminate surfaces. These kits include primer, paint, and sealant, allowing you to imitate granite or quartz finishes.
Alternatively, applying a laminate overlay or adhesive film offers a quick refresh. Choose patterns that complement existing cabinetry. For minor wear, sanding and resealing solid wood countertops restore value with minimal expense.
Budget Bath Refresh
Updating a bathroom doesn’t require a large budget to make a noticeable difference. Simple changes to vanities and fixtures can modernize the space and improve functionality without major renovations.
DIY Vanity Upgrades
A fresh coat of paint can transform a dated vanity. Use water-resistant paint designed for bathrooms to prevent damage from moisture. Replacing or adding new hardware, such as knobs and handles, gives the vanity a custom look for under $20.
Install peel-and-stick backsplash tiles or contact paper on the countertop or cabinet doors for added texture and color. Carefully clean surfaces before application to improve adhesion. Adding adhesive felt pads to cabinet feet prevents floor damage and reduces noise.
Consider swapping out the vanity mirror with an affordable framed version for a polished appearance. Mirrors with built-in shelves add extra storage without extra cost. These upgrades offer practical improvements and an updated look.
Replacing Fixtures on a Budget
Replacing old faucets and showerheads can significantly improve water flow and update aesthetics. Choose models with a brushed nickel or matte black finish to blend with modern styles at moderate prices.
To save money, reuse existing plumbing lines when installing new fixtures. Avoid moving fixtures to reduce the need for costly pipe rerouting. Installing a water-efficient showerhead saves on utility bills and often qualifies for rebates.
Wall-mounted soap dispensers or towel hooks are inexpensive additions that reduce countertop clutter. Basic installation tools include an adjustable wrench and plumber’s tape. Quick fixture upgrades improve both function and bathroom appearance.
Smart Tech and Energy-Saving Additions
Small modifications can make a significant difference in home energy use and comfort. These upgrades combine technology with practical adjustments to reduce utility bills effectively.
Installing Programmable Thermostats
Programmable thermostats allow homeowners to set specific temperature schedules throughout the day. This means heating or cooling only runs when needed, avoiding energy waste.
Models vary in features, from basic timers to smart thermostats with app control and learning capabilities. The cost can range from $20 for simple units to over $200 for advanced versions.
Installation is generally straightforward and can be done without professional help by following the manufacturer’s instructions. Over time, savings on heating and cooling bills often offset the initial purchase.
Weatherproofing Windows and Doors
Sealing gaps around windows and doors reduces drafts and heat loss, improving indoor temperature control. Common materials include weatherstripping, caulk, and door sweeps.
Start by inspecting edges for visible cracks or airflow. Apply self-adhesive foam tape or rubber strips to cover gaps, which is inexpensive and quick.
For larger gaps, use caulking to create a more lasting seal. Adding window insulation film in colder months also enhances barrier quality.
These upgrades require minimal tools and provide immediate improvement in energy efficiency.
Creative Personal Touches
Adding unique elements to your home can greatly enhance its character without spending much. These ideas focus on simple methods to customize your space using color, texture, and personal creativity.
Accent Wall Concepts
An accent wall shifts attention and adds depth to any room. Choose one wall to highlight using bold paint colors, wallpaper, or textured materials like shiplap or brick veneer.
For budget-friendly options, consider:
- Peel-and-stick wallpaper for easy application and removal.
- Painter’s tape to create geometric patterns or stripes with contrasting colors.
- Reclaimed wood panels or fabric stretched over frames for texture.
Keep the rest of the walls neutral to maintain balance. Lighting near the accent wall can intensify the visual impact and enhance shadows and highlights.
Artwork and Décor DIYs
Creating your own artwork personalizes your space and reduces costs. Use inexpensive materials like canvas, acrylic paints, or printable art to design pieces tailored to your style.
Ideas include:
- Framing fabric remnants or patterned paper for instant décor.
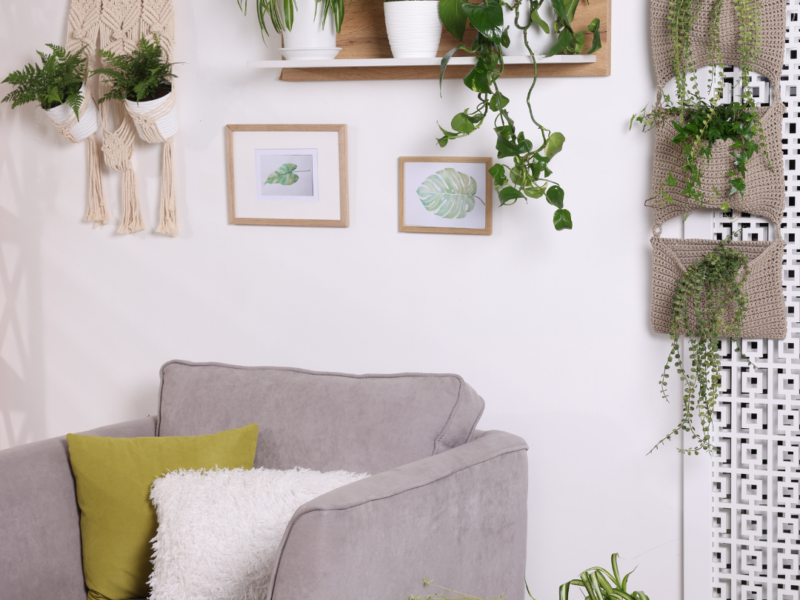
- Crafting wall hangings from yarn, macramé, or natural elements like branches.
- Upcycling old frames with fresh paint or adding new backing for custom prints.
Arrange art in grids, salon-style, or asymmetrically to complement existing furnishings. Small touches such as custom-stenciled quotes or mixed-media collages add interest without large expenses.