Consider DIYing shutters if you’re looking for a fun project to keep you occupied in the spring and summer. Shutters go with any home and offer a timeless, classic look to your home. Plus, they are easy to DIY and can give you a great sense of accomplishment. We’ll show you how to DIY shutters step-by-step.
DIY Shutters: A Guide to Help You Create Your Own
Shutters are a great way to create a unique addition to your home, and while many go to order Custom Shutters and love them, if you have some DIY skills you could consider making your own. You can use this guide to help you pick the right size and design for your home.
Today, many homeowners have realized the benefits of creating their own shutters and have become DIY shutter enthusiasts. If you plan on doing this, it is important that you purchase quality materials and take the time to measure everything before starting out carefully.
What Are the Different Types of DIY Shutters?
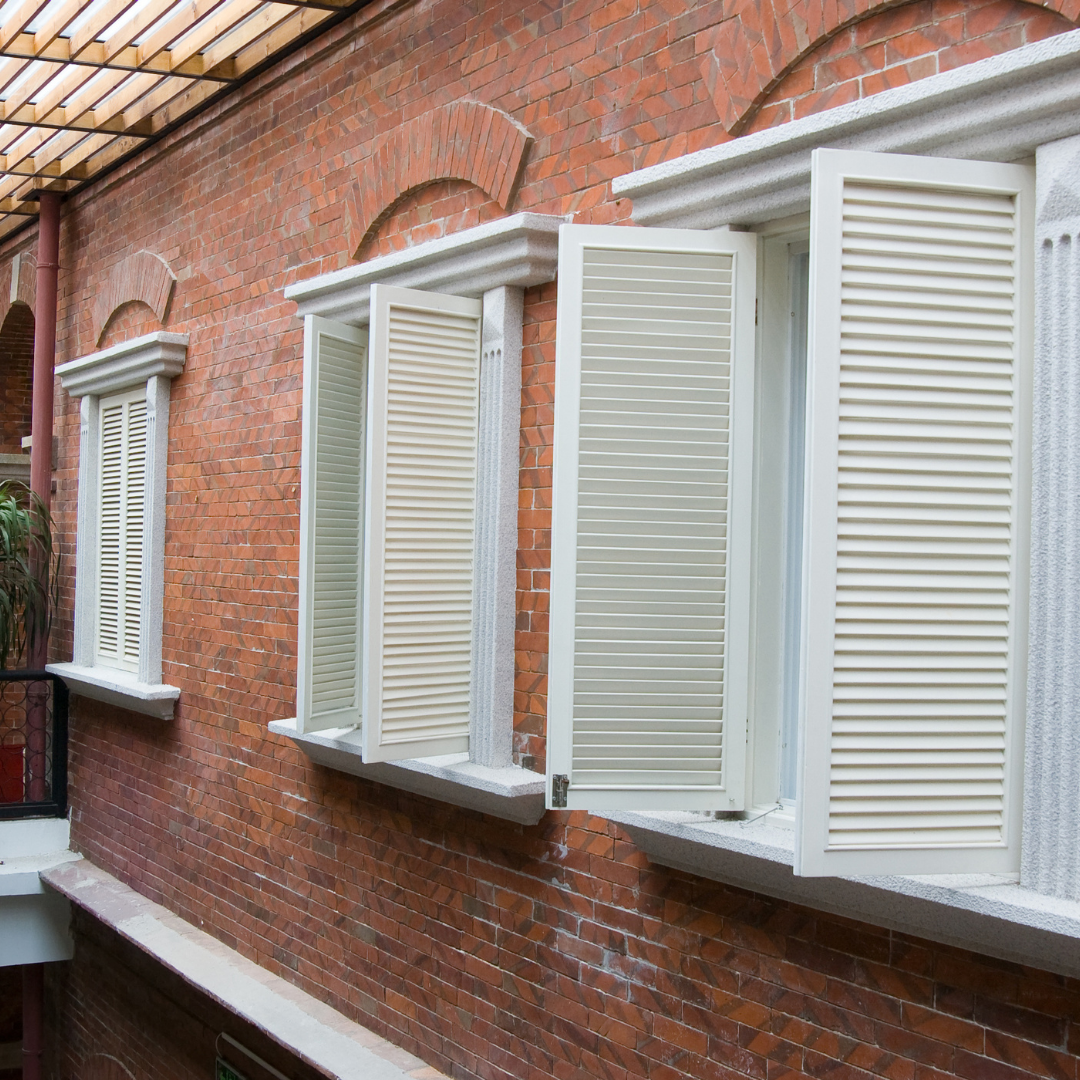
Shutters are used to closing all types of window openings. They can be made of wood, metal, or plastic. There are four common types of Window Shutters: operable, retractable, louver, and decorative.
When it comes to DIY shutters, there are many different options available to homeowners today. They can choose from a variety of materials such as wood, metal, or plastic, depending on the desired style and budget. These different materials will also have a lot to do with the durability and cost-efficiency of each type of shutter, as well as the amount of maintenance required.
There is also an option for homeowners who want something more decorative than functional – they can opt for a decorative shutter in one form or another.
Step-by-Step Instructions for Installing DIY Shutters at Home
Installing shutters is a DIY home improvement project that can be done for about $60. Shutters offer a great way to transform the appearance of your home and can provide a much-needed privacy feature. Shutters are not only a functional addition but also give your home a unique look.
The following step by step instructions will help you install shutters at home:
Step 1: Measure the window frame to determine the length of shutter you need
Step 2: Cut the shutter with tin snips
Step 3: Drill holes into the mounting brackets
Step 4: Screw in and mount both brackets in their respective holes
Step 5: Install the hanging hardware on each bracket
Step 6: Install screws into wall anchors, place anchors into wall, then screw in screws
Things You Need to Know Before Installing DIY Shutters
Shutters are a common window blinds, which can be found in most homes. They are typically used during the day for privacy and at night to secure your home. These blinds can also have an added advantage. They can keep your house warm in winter, cool in summer, and block harmful ultraviolet rays as well. Such shutters can be an added feature to the decor of your home because they can be adjustable and come in numerous designs and colors. Wooden blinds or venetian blinds with tape can be great additions to your home if you enjoy showing off your house. Also, installing shutters at your own home is a good option for homeowners who want to do it themselves.
However, before choosing to DIY shutters into your living room, there are some things you should know about them. This includes the type of shutters you want to use and factors that will influence their installation.
Installing DIY shutters is a popular and affordable way to transform your home. The work is easy, but there are things you need to know before you start with the installation process.
– There are different types of shutters that you can install on your home, including louvered, operable, and roller shutters.
– Some companies offer free estimates for shutters, and other companies charge a fee for the estimates. If you’re new to DIY then you might want to consider how much it would cost to get a pro to do it before attempting it yourself.
– There are different materials that you can use for your DIY shutter installation, such as metal or wood. Each one has its own benefits and disadvantages so it’s important you look into your option.
– You can reduce the costs of the project by being smart about where you buy. For example, you can use a Lowe’s coupon to make a higher-quality material cost less than the cheaper option, thanks to the discount it provides.
Before installing DIY shutters into your living room, it is best to look for a professional window shutter installer first so that they can help you with everything from design, style choices, and installation.
Conclusion:
DIY shutters are easy to make and can be used in a variety of ways. They can be hung on the wall, used as curtains, or even used for privacy.
Do-it-yourself shutters are not only decorative but also practical. They’re easy to make and don’t require any tools. Plus, they add character and creativity to your home without going over budget!
Kickstarting your home decor is easier than ever with DIY shutters.